Scout's Best Friend Leash
- Aug 5, 2017
- 3 min read
I'm back to share another pet project with you! I'm calling it Scout's Best Friend Leash and I'm excited to show you just how easy it is to make your own pet leash!

I love giving my dog Scout's gear an individual look, but unique, fun pet items can cost a fortune in the store. Making your own leash is easy and affordable. It also means you get to customize the look as well as make it the perfect length for your size pet. In the tutorial below I'll also show you how to attach a D-ring to the leash handle. This gives me a dedicated spot to clip my keys, Doggy Doo bag, or any other bits and bobs I seem to be carrying, without needing a separate bag.
The following instructions will make a 1" wide leash. If that feels too large for your hand or your dog, feel free to make it narrower. Just take the finished size you would like it to be times 4 to find the size you would need to cut in Step 2 below. For example for a 3/4" wide leash you would cut your strips at 3".

Supplies:
1/2 yard of fabric, I suggest quilting cotton or flannel
1-1/4 yards Shape Flex fusible interfacing
Step 1.
Attach the Shape Flex interfacing to the back of your fabric according to the manufacturer's instructions. Trim excess interfacing and cut the selvage off of your fabric.
Step 2.
Cut (3) 4" x width of fabric strips. Connect strips with a mitered seam like you would when making quilt binding. There is a nice little tutorial here if you haven't done that before, it's super easy! Press the seams open. Decide how long you would like your leash to be and trim excess. I made mine around 6 1/2 feet when finished by cutting my strip to 90". By using the full length of all three strips you could make a leash just shy of 9'.
Step 3.
Next we are going to press the strip in to create a nice finished edge. This step is similar to making double fold bias tape.
First, fold the strip in half, wrong sides together and press, creating a 2" x length of leash strip.
Open up the fabric and fold one long edge in 1" towards the center, again wrong sides together and press as you fold.
Repeat with the other side. This step ensures that the raw edges will be tucked nicely inside.
Fold the fabric in half, encasing the raw edges in the fold, and press again.
On each short end, open up the fold a few inches and turn the short raw edge over 1/4 and press to tuck the raw edges inside. Refold into the 1" strip and press well. Repeat with the opposite short end.
Step 4.
Stitch the fabric in place by top stitching through the leash four times. To do this, I first sew each side of the leash 1/4" from the edge. Then I sewed another top stitch seam closer to the edge, roughly an 1/8" seam allowance. Take your time to make your top stitching look nice, since this will really effect the final results of your leash.

Step 5.
Slide one end of the leash through the fixed loop of the swivel clasp. Fold this end over 1", then another 1-1/2" with the swivel clasp loop at the bottom of the fold. Stitch in place by sewing an "X" through the 1" folded section to give extra stability to your leash.

Step 6.
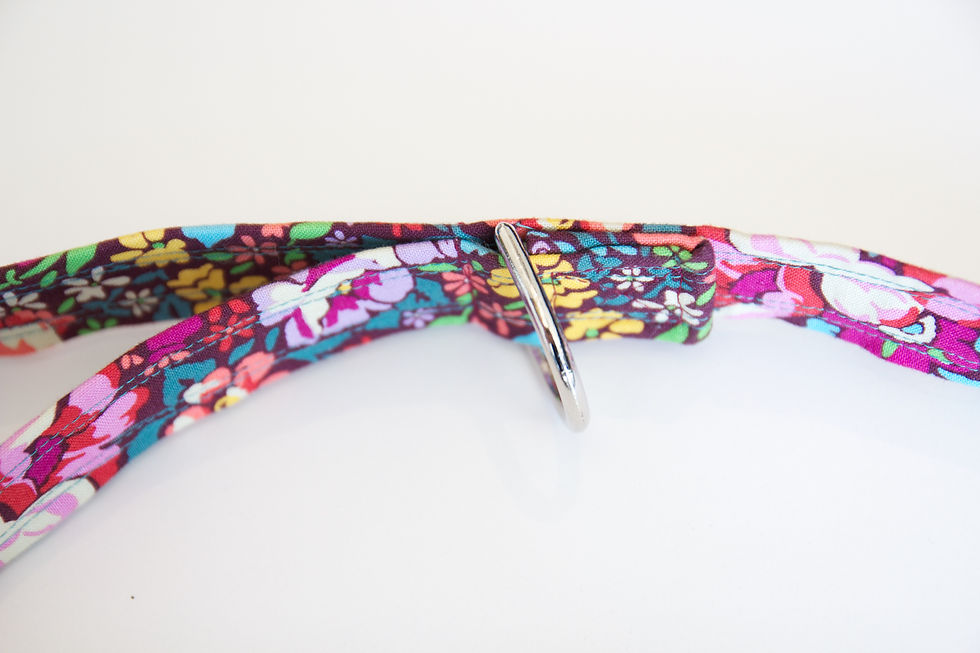
Next we will create a handle for the other end of the leash. Fold the short end in 1" and press. Slip on the D-ring. Fold the end over 8-1/2", making sure the D-ring is inside the loop of the handle. Stitch an "X" through the 1" folded section. Slide the D-ring down to the bottom of the handle and stitch a line across the leash to enclose the ring. I found using my zipper foot helped me get closer to the ring.

That's it! You've just made your first of many unique and useful leashes! Combine this with our Doggy Doo bag from last week and you've got a great handmade gift for your favorite pet (or pet owner)! We've made it easy for you to find all the supplies you need by creating a Dog Hardware Kit! Included is a swivel clasp and D-ring for the leash (available in two sizes) and a carabiner and key ring for the Doggy Doo bag, available online or in the shop!

Happy Sewing,
Angelique


Comments